With autumn approaching, it was the perfect time for Violette Fields Threads to release the perfect pair – the Hattie Dress, and the Tess Sweater. And bonus, there’s a bundle to get them at a two-fer price!!!

I had a couple questions on the Hattie Dress as I sewed along, and it was great that the designer, Cassie Nicole, sent me a Facebook message, and answered my question, with an explanation of her method.
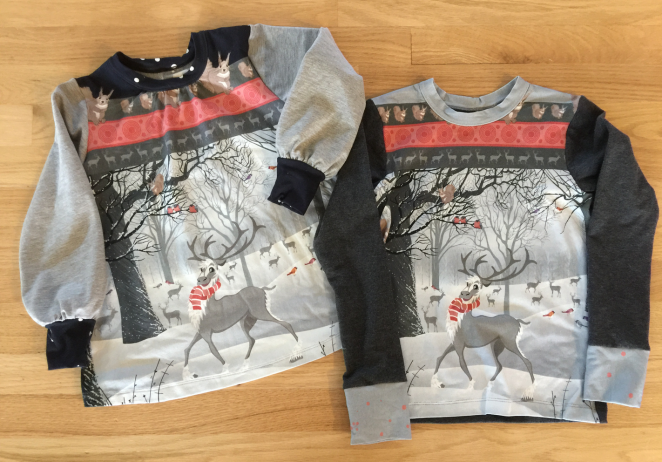
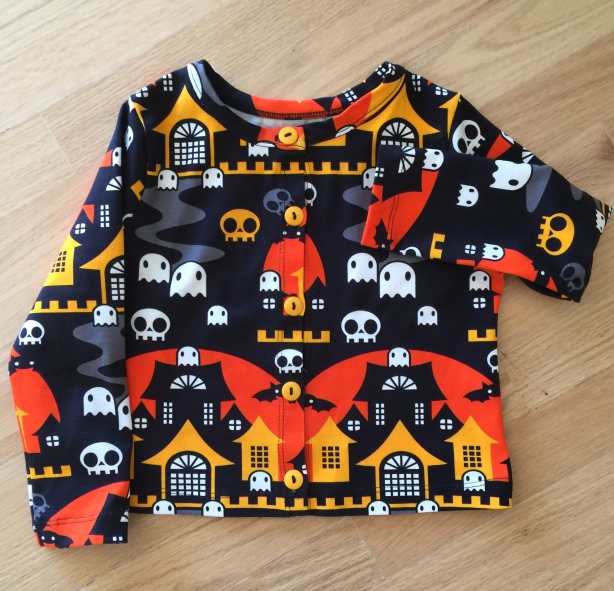
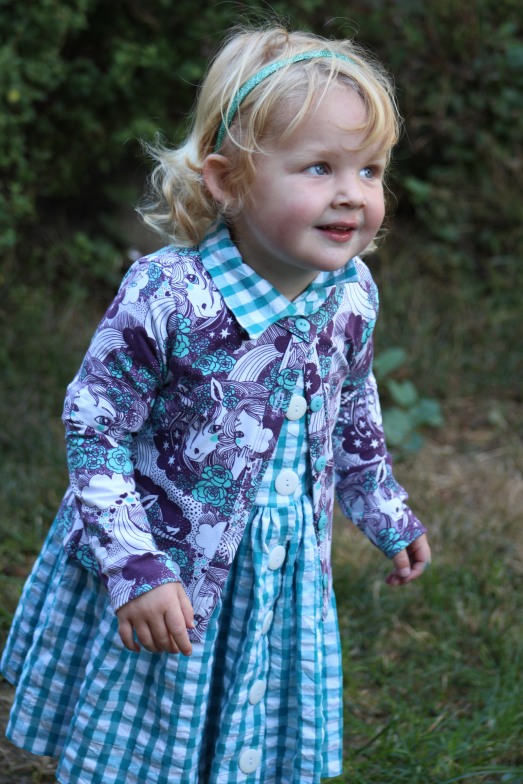
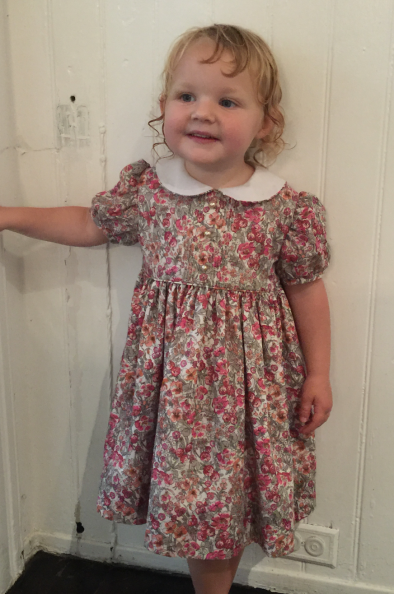
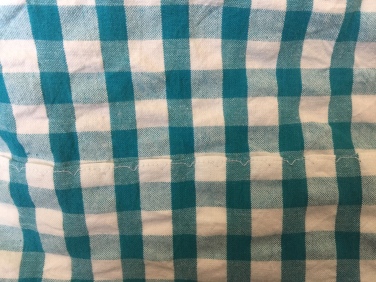
Anyway, on to the Hattie and Tess sets. The first one, for my darling granddaughter, looks a bit rumpled, but the dress fabric is a very textured, all-cotton, seersucker-esque plaid. I pre-washed it, and the texture really appeared. I’ve used this fabric in the past, and my daughter loved it for my grandson in some coveralls, so I’m sure she’ll like this Hattie dress. The Tess sweater fabric was something I got a couple years ago from FrolleinS. It was waiting patiently for just the right pattern, and I only had half a yard – bought the last of this color way, and that was all I could get. The sweater, amazingly, takes only half a yard up to a size 7, so it’s very economical for those pricey European knits, and it’s made to be self-banded, so no searching for coordinating ribbing. Wow, do I like that, since I’m Mrs. Fussy Pants when it comes to that sort of thing.

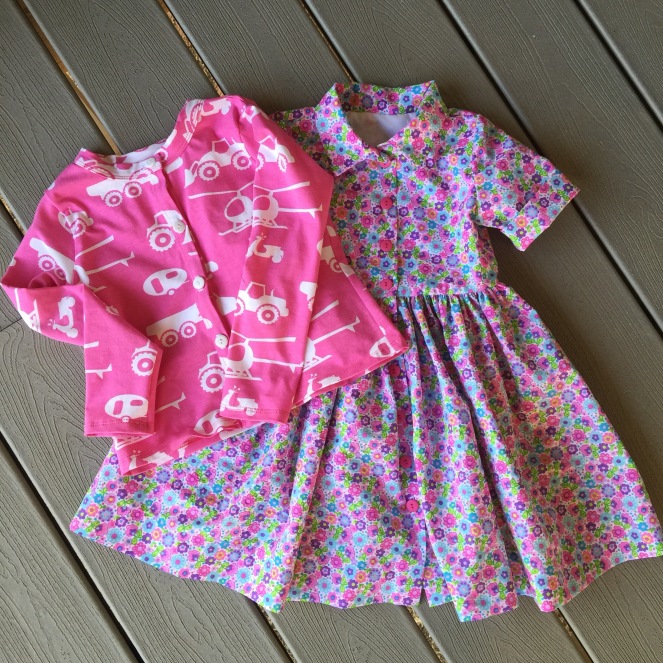
I sometimes sew for a friend who has a darling little daughter named Em. My friend used to own a fabric business, and I am more than happy to sew in exchange for fabric. Em’s dress is a poly/cotton plisse, source unknown, and a European cotton/lycra jersey sweater that may be from Lillestoff, but I’m not quite sure. I love the counterpoint of the feminine flowers and the pink construction vehicles.
The dress has two alternative front closings, one with a placket that goes just to the waist, and the other with a full button front. I chose the one with buttons all the way down because it was much easier to conceal the seam allowance at the waist edge with that view. With the view with a placket that only goes to the waist, it would take a lot of fussing to get that seam allowance fully enclosed.
Of course, that meant I had to make even more buttonholes and sew on more buttons – 27 buttonholes and 27 buttons – Babylock to the rescue. I love my Babylocks, and I’ve used my buttonhole gizmo often enough that I only had to rip out less than one half a buttonhole, and that was because my thread half broke and unplied somewhere up in my sewing machine and I had a nest above the needle. So, I changed needles and moved on. My seam ripper and I are good friends, so it was quick and easy. I used standard, narrow buttonholes on the dresses, and took my width from a 5 to a 4.5 so I’d have plenty of room to slash and open them up. As I groused about sewing on all the buttons, my friend reminded me that my fancy sewing machine also sews on buttons. Yes!!!
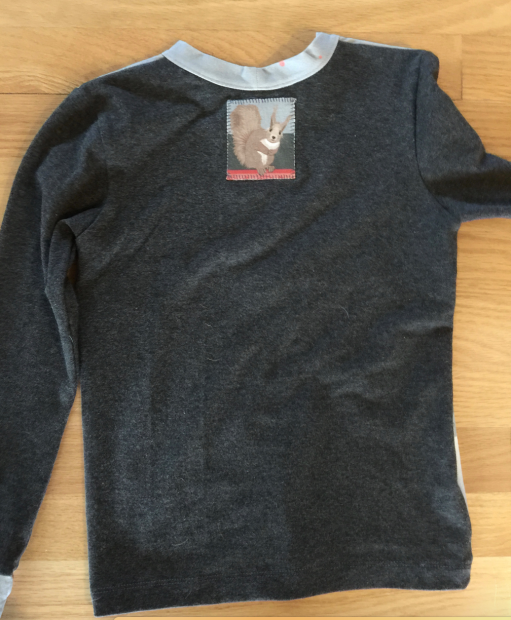
On the sweaters, I switched to a 90/14 jersey needle, and the heirloom buttonhole setting. It works really well on knits and doesn’t pucker them up like a regular buttonhole stitch. I learn something new every time I sew! I also used stabilizer over and under those buttonholes – some of the stuff that looks like plastic wrap. You tear it off after you’ve sewn your buttonholes, apply a hot iron, and the little leftovers disappear. I am HAPPY with the buttonholes!
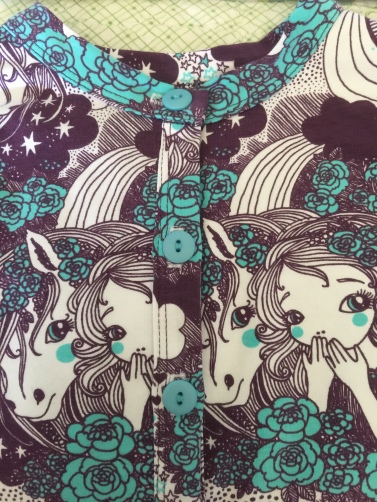
The pattern calls for a full bodice lining. I like a nice, smooth lining, and I usually use Imperial poly/cotton batiste. It never needs ironing, and I have not found it to shrink. Plus, it’s soft and comfortable against the skin. Because the lining was going to be exposed at the neck edge/front opening, and I didn’t want to fully line the front with the main fabric, I sewed together some lining fabric and 3 inch wide strip of main fabric for each front bodice lining piece, and cut out the front bodice lining pieces from this color-blocked fabric, so the inside of the dress front bodice is mostly lining material with that band of main fabric along the inside front edge.

The skirt have a cut chart, and the widths vary by a couple inches according to size, starting at 39 1/2 inches for a 2T, up to 42″ for size 9/10 but I used the full 44″ width of the fabrics, since it was easier than cutting off a couple inches from inches parallel to the selvedge. The skirts are two full widths of fabric, and darn, that’s a lot of fabric to hem, so I got lots of practice with my blind-hem foot on my sewing machine. It was worth a bit of practice to get it adjusted right. Those two 80+ inch hems were done in no time, and they look pretty darned good.

My one issue with the pattern is that the sleeves are cut on the fold. I’ve been around the sewing block often enough to know that, particularly on a woven fabric, there should be more fabric in the back than in the front. I really wish people in the pdf world would learn this simple thing. I haven’t yet seen these garments on my granddaughter or on my friend’s daughter, but I’ll be looking at that area in particular and posting an update when I see my granddaughter in 9-10 days.
Other than that, the patterns were a simple, if time-consuming sew. I am slow, and picky and easily distracted, so it’s me, not the pattern, although hand-gathering those skirts was a chore. I have a Johnson Ruffler machine, but when I want a specific width gathered to a specific, smaller width, that just doesn’t work.
Things went together well on both the dress and the sweater. I was thrilled that the front and neckband pieces fit perfectly. I sure hope the cardigans fit. I LOVE, LOVE, LOVE that pattern. My granddaughter lives in San Francisco, truly the home of Sweater Weather! She just started preschool, so she’s out the door in 60 degrees every day – just the right temperature for a cute, little cotton/lycra cardigan.
FWIW – I have no relationship with any companies mentioned in the post.
.